Showing posts with label wedding dress. Show all posts

Tuesday, February 1, 2011

Rachel's Wedding Dress - Part 5

In my last post, I promised professional shots of Rachel's dress once she gave them to me and here they are.  In early January I flew out to Northern Kentucky for her wedding.  Her family was super nice and I had a great time, in part because I had a fun date. :-)

I'll let the photos speak for themselves, but Rachel looks absolutely gorgeous.  She bought some costume jewelry in New York which sparkles in the photos, and a cute vintage veil.  In the photos you can also see the crystal belt she sewed better.  She had her makeup done but I believe she mostly did her hair herself.

Here she is with her mom in their foyer.
Me and Rachel. :-)
Glamour shots:


Playing violin at the wedding
Rachel's little bro walking one of her bridesmaids down the aisle.
The beautiful bride with her dad.
The eager groom.


The bridal party.

The newlyweds.

Wednesday, December 29, 2010

Rachel's Wedding Dress - Part 4

In my last post about Rachel's dress, we got the fit of the bodice correct.  After I came back from Korea, we went to pick out the fabric for the bodice, choosing a slightly creamy white silk stretch charmeuse.  We also bought matching silk charmeuse fabric to replace the skirt lining.

As a reminder, the dress originally looked like this:


Rachel had taken the dress apart for me, including the lace bits, which I recut into sleeves and the top layer of the side panels for the bodice.  There was a good amount of the lace, but they weren't really as big as I would have liked.  Rachel has a long torso, so the side panels were quite long.  Therefore, I needed to stretch the lace in different directions to fit the pattern I would cut.  This caused a few problems later in the construction process, but mostly worked because the lace was pretty stretchy and was supposed to be taut on the bodice. 

Here is the only process shot I took:
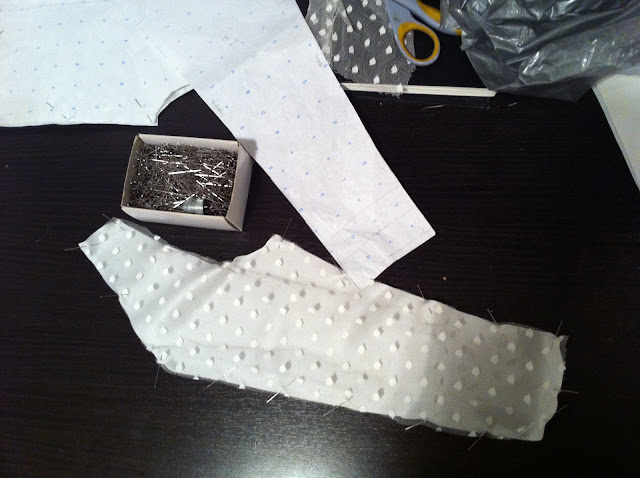

You can see the pins holding the lace in place on the edges. 

After cutting the silk panels of the bodice, I painstakingly cut the different lace pieces: the sleeves (including a cuff for each sleeve), the front side panels, and the back side panels.  I then put together the inner layer, which had some stretchy fusible attached to the self to provide stability and boning to provide structure.  Then I put together the outer layer, including the sleeves.  Those two layers were attached together.

Rachel had cut the skirt lining for me, so I shirred the edges slightly and attached it to the lace skirt.  Then those were attached to the bodice.  Finally, the zipper was attached to the dress.  I also sewed a hook and eye at the top of the zipper and snaps on the sleeve cuffs.

Along the way, I had Rachel come over and try on the bodice after the first couple of steps, to make sure that the fit hadn't changed dramatically using this fabric.  It turned out to be more stretchy than I anticipated so we had to take it in in the back.  We didn't want the bodice to be too tight but it also would have looked bad if it were too loose.

I finished the dress a couple of weeks ago and took it to Rachel's place to take some preview shots.  Her wedding is in January, in about a week, and I'm excited to attend.  I'll be playing violin before and during the ceremony as well. I'll post professional and more detailed shots once she gives them to me after the wedding, but here are some taken from my iPhone and camera.

In the first few shots, she's wearing a hat she bought for one of her bachelorette parties or something.  She will be wearing a short veil for the ceremony though.  In all the shots she's wearing costume jewelry she purchased for the wedding, as well as a belt she made herself, which is Swarovsky crystals sewn onto a long gros grain ribbon.  She hasn't decided if the ribbon will be tied in a bow as shown or with a closure at the back.


Monday, October 25, 2010

Rachel's Wedding Dress - Part 3

In my last post about Rachel's dress, the first fitting found the bodice to be too short.  I made some alterations to the pattern and we did another fitting.  This time the length was okay, but because of some small miscalculations, the bodice wasn't closing on Rachel, who hadn't changed in terms of size since our last fitting.  The bodice was a little tricky to fit because there wasn't a lot of room for error.  If it was too loose it wouldn't look the way we wanted, and if it was too tight, she wouldn't be able to get it on.

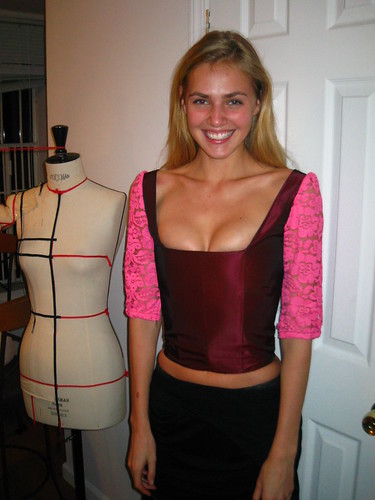
I added a little bit along the center back, and we refit the bodice.  This time the fit was almost perfect:
IMG_1255

As previously, I used extra fabric I had around to construct the mockup -- this is NOT the actual fabric of the bodice.  Although her breasts look great here, we decided that it was a little too low for a wedding ceremony, and I will raise the top of the center front about an inch.  The shoulders were slipping off a bit as well, so I am going to take the shoulder up about 1/2".  The sleeves will be buttoned to fit and poof out a bit above the elbow.

Now that we've gotten the fit right, it's time to buy the fabric!

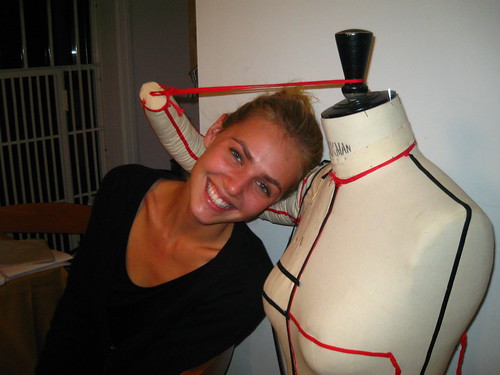
Rachel posing with her friend, the mannequin.

Wednesday, October 20, 2010

Rachel's Wedding Dress - Part 2

Once I had an idea of what Rachel wanted for the bodice, it was time to drape. I got my trusty mannequin and put style tape on "her" where the seams would be. Here is the front:

And here is the back:
Then I draped the pieces. I just took a photo of the front.
It's hard to see the individually draped pieces, but you can see some of the style tape underneath. Once the pieces were draped, I took them off the mannequin and created the paper pattern.

Then I took some old fabric I had lying around, and made the muslin, or mock up of the bodice. Note that the colors are pretty terrible, but the fabric worked for my purposes. Rachel is wearing it below in the photo, along with the skirt from the original dress. We are going to use the lace from the original bodice wherever you see the pink lace below, so for the sleeves and an overlay for the sides of the bodice. Underneath the lace overlay on the side and for the center front and back of the bodice we will use a bright white silk to match the dress. We're also going to replace the lining of the skirt, as the fabric has yellowed a bit.


As you can see, the bodice hits a little higher than we wanted (the mannequin's torso was not quite as long as Rachel's), so we decided to make it longer so that the skirt would hit a little lower than the waist. Otherwise, it would be too short for her. Rachel also wanted the top of the front to hit a little lower (in true Marie Antoinette style) which you can see by the chalk marks. We also agreed that the armhole should be a little more open so her arm would be able to move more freely.

I took a bunch of notes and told her I would make changes and recut another mockup.

Tuesday, September 28, 2010

New Wedding Dress Project! Part 1


My friend Rachel, who has modeled for me and was in the music video we did last year, is getting married soon. She was having a hard time finding a dress she liked, so she decided to use her mom's old dress and make some modifications.

Rachel is 5'9 and her mom is 5'2, so the skirt ended up being too short on her. She asked me if I could construct a completely new bodice for her.

The wedding will be in the winter, so she was interested in the pannier style she had seen in Marie Antoinette, like below:

The first step was to get her measurements. I did a rough sketch and wrote down the measurements (she is tiny). The faux pannier in the front will be from a new fabric that matches the rest of the dress, and the sides will be made of the new fabric plus hopefully a lace overlay, and the sleeves will be recut from the lace. The tiny sketch on the side is a scooped back.

Sunday, August 29, 2010

Katrin's wedding

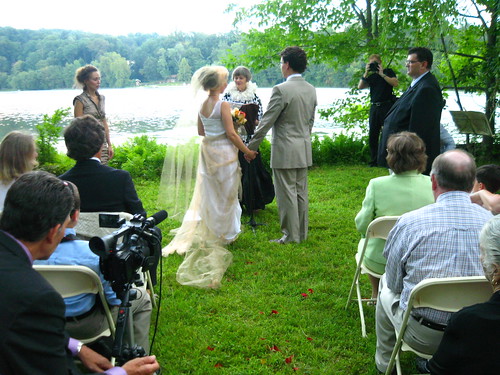
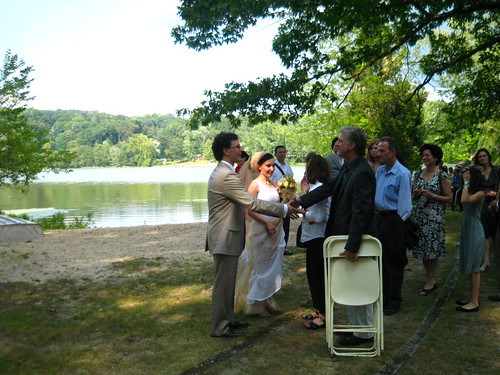
Katrin's wedding was a few weeks ago. They had the wedding outdoors on the water, down the road from her home in Northern Westchester. Katrin's mom Karen spent weeks cleaning up the field by the lake to get it ready for the wedding.

I had agreed to come a little early (I was invited as a guest) to put the tulle in her hair as we had done for the shoot instead of a traditional veil. However, when I arrived about an hour before the wedding was to start, Katrin's mom was somewhat frantic. She and the rest of the family had been madly cooking for the past several days for the wedding, and there was still food prep to be done. She charged me and one of her old friends with creating the floral garlands that would serve as headpieces for the flower girls, as well as the bouquets that Katrin and her maid of honor, her sister Yona, would carry.

I had never made either garland or bouquet before, but I was not one to shrink away from a creating challenge. My co-conspirator, Karen's friend (whose name escapes me at the moment), did not feel so confident, so I took charge and directed her and the two flower girls in assisting me.

IMG_0920

IMG_0919

That's what we came up with, which I think looks pretty good given the time constraint and our lack of experience.

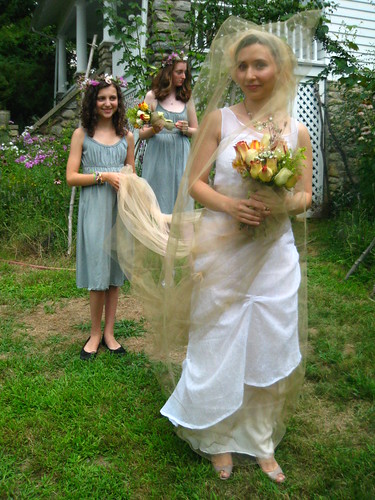
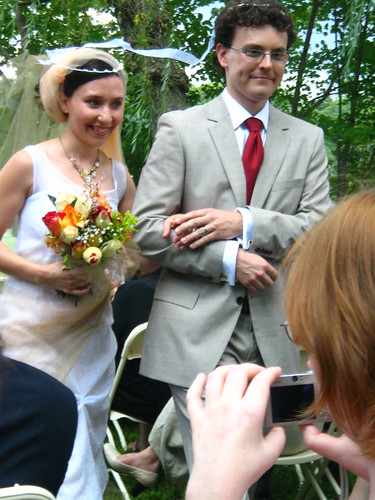
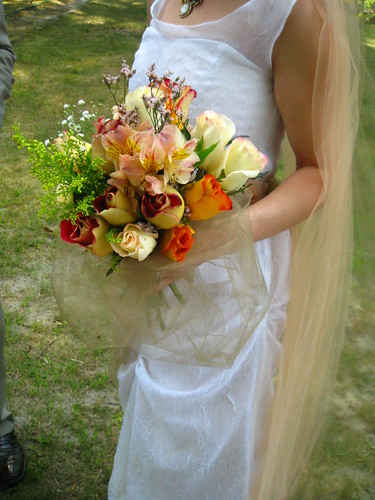
Then it was onto Katrin's headwear. Unlike for the photo shoot, I decided to give her a long veil that would have a train, using the peach and gold tulle. Katrin is carrying one of the bouquets I created, which we wrapped in tulle as well.

IMG_0922

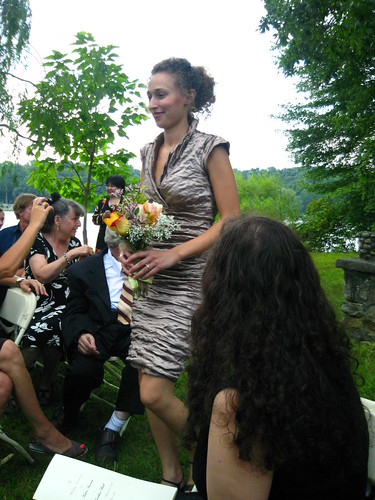
Here is Yona, carrying the other. I guess if all else fails I can go into the floral arrangement business.

IMG_0926

IMG_0925
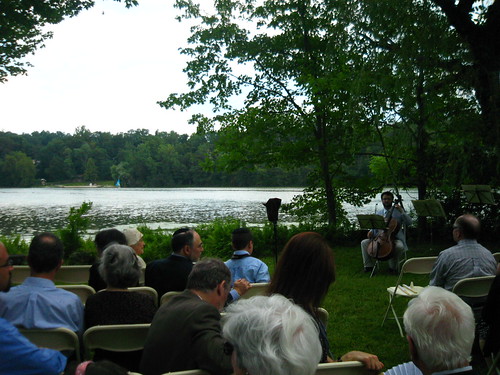
A view of the water.

IMG_0930
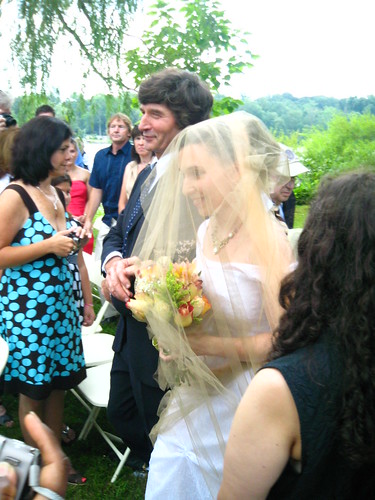
Katrin walking over with her dad. There were a couple of times where her veil got stuck on rocks but ultimately she was able to walk down the aisle in one piece.

IMG_0931

IMG_0935
With Jon.

IMG_0938

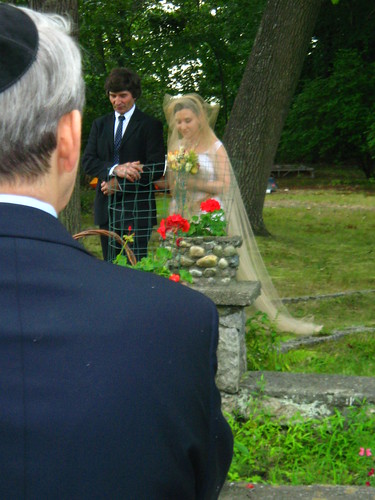
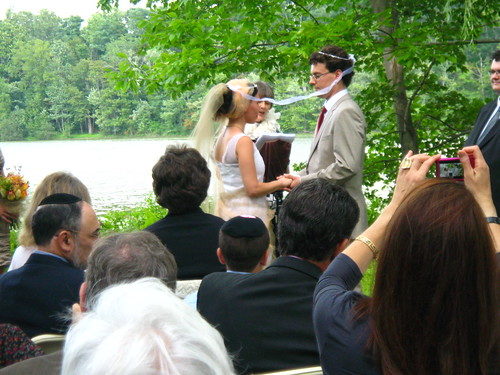
It was my first time at a Greek wedding, but apparently it's tradition to put connected crowns on the bride's and groom's heads.

IMG_0941

IMG_0945
Closeup of the bouquet.

IMG_0947
Katrin's violin teacher (talking to her dad) served as the officiant. I think she said her top was Comme des Garcons and I forget what the rest of it was, but she looked quite fabulous.

IMG_0949
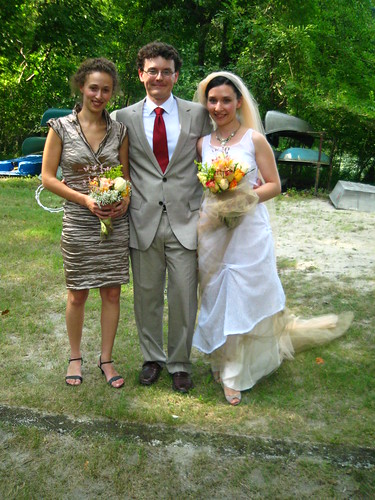
Maid of honor, groom, bride. After pictures I cut her veil so that it was more manageable.

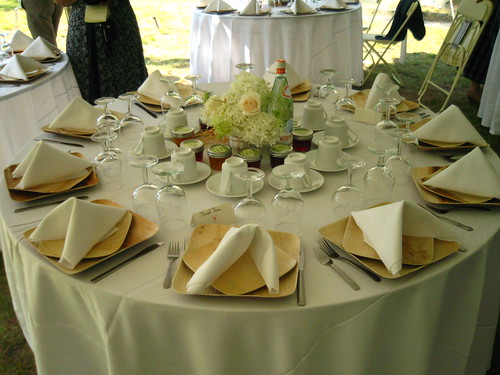
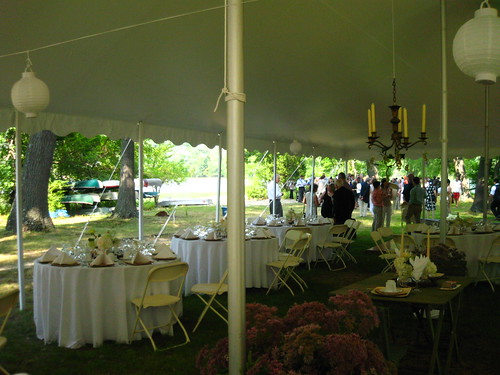
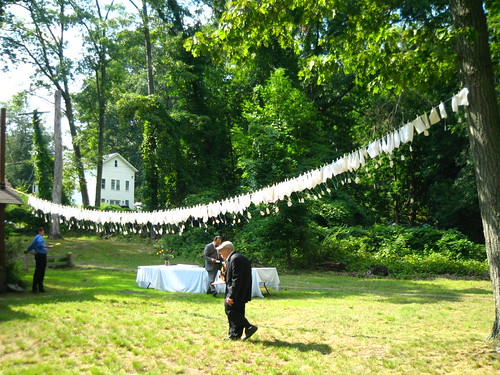
Karen got her neighbors to help out in transforming the park area. They put up a tent and decorated everything themselves. It was really quite amazing and beautiful.

IMG_0950

IMG_0951

IMG_0952
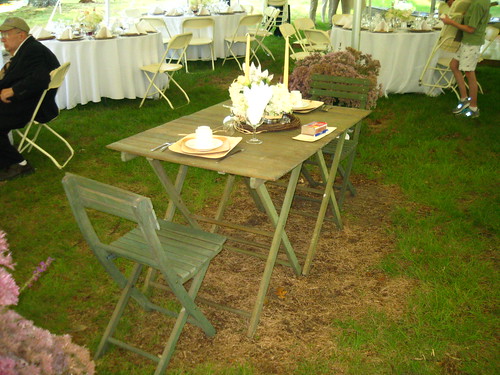
The newlyweds' table.

IMG_0953
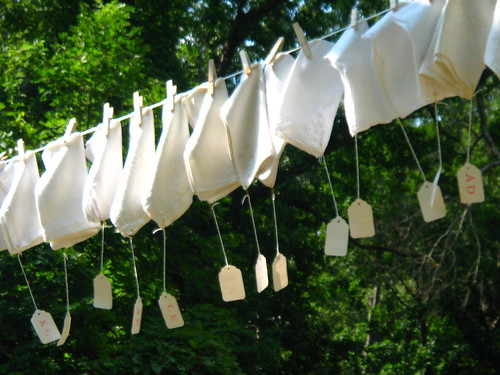
They strung cloth napkins on a clothesline with each of our initial on the tags, as party favors.

IMG_0955

IMG_0954
Another view of the napkin line.

IMG_0956
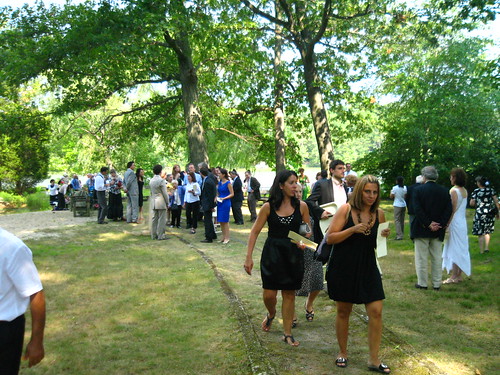
Guests walking toward the tent from the ceremony area.

IMG_0957

IMG_0962
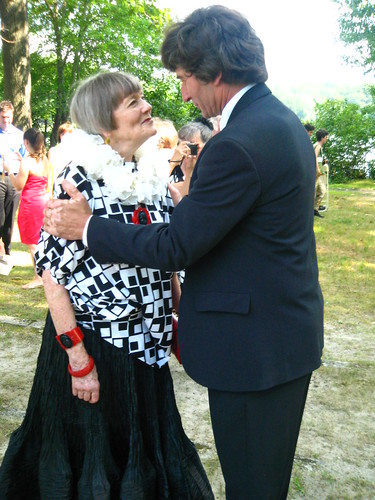
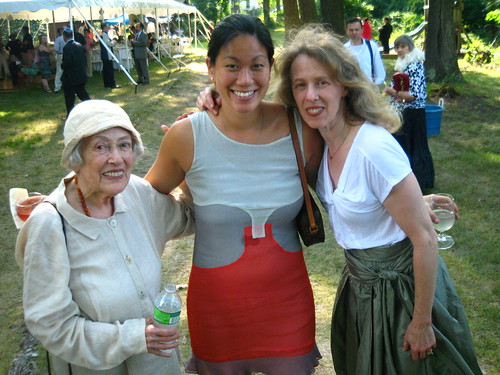
With Karen and her mother.